2024 Marine Battery Connection Essentials
Table of Contents
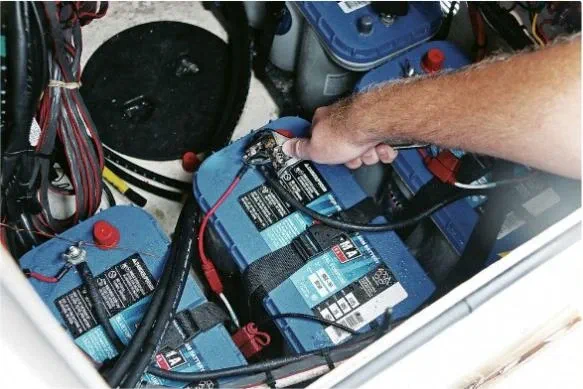
Essential Tips to Connect Your Marine Battery
Selecting the right marine battery involves several key factors. Firstly, it's crucial to consider the Cold Cranking Amps (CCA). This term indicates a battery's ability to start an engine in 0-degree Fahrenheit weather for 30 seconds. To ensure your engine fires up in cold conditions, your marine battery should have a CCA higher than what your engine requires. Marine Cranking Amps (MCA) is another essential aspect, which helps determine the power necessary to start boat engines.Another important factor is the conductor gauge. This needs to match your battery's size for safety and efficiency. Mismatched gauges and batteries can lead to potential safety risks due to different maximum amp draws.Lastly, the sizing of your circuit breaker is vital. This device, like a circuit breaker, must be suited to your trolling motor's specifications. This ensures your boat's electrical system remains safe and reliable, particularly on long boating journeys.By understanding these key points, you can make a more informed decision when choosing a marine battery for your vessel.Boat Power: Marine Battery Connection Tips
When it comes to ensuring your boat is ready for the waters, knowing how to connect a marine battery correctly is pivotal. In this comprehensive guide, we dive into the essential tools and techniques required for an effective marine battery setup. From selecting the right type of batteries to understanding the intricacies of series and parallel wiring, this guide covers all you need to know to empower your marine adventures. Whether you're a seasoned sailor or new to the nautical world, mastering the art of connecting marine batteries is a skill that will enhance your boating experience, ensuring safety and reliability on the open seas.Essential Tools for Effective Marine Battery Setup
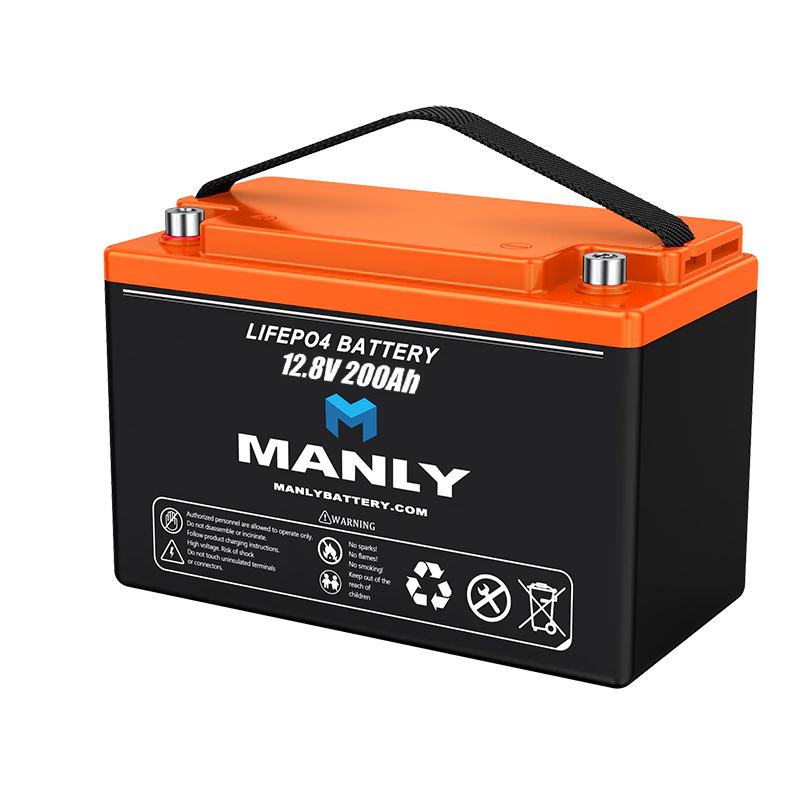
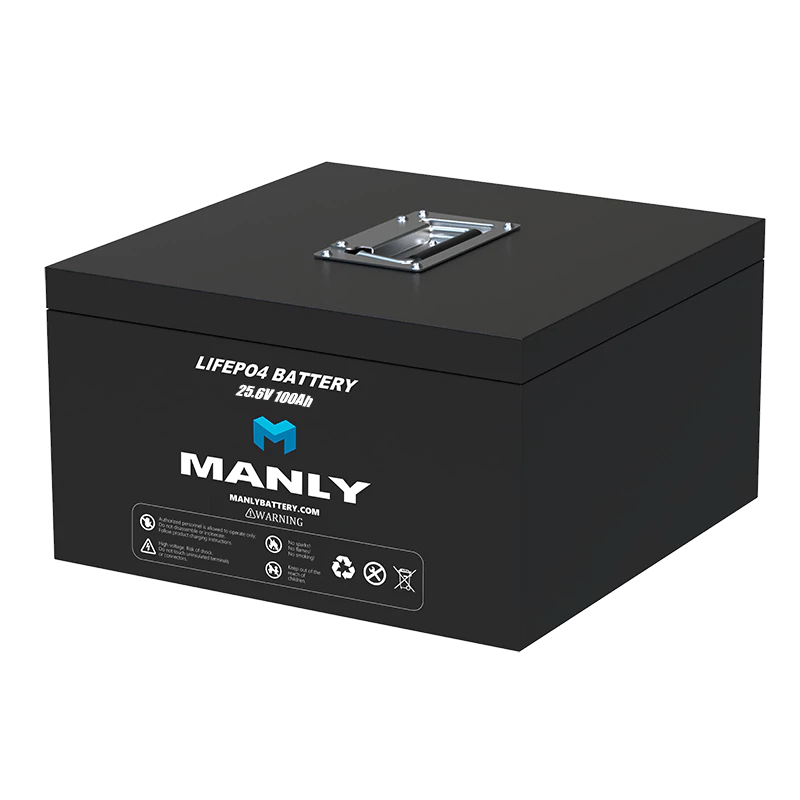
Before you start installing your marine battery, it's important to gather the right tools. This will make the installation process smoother and safer. You'll need a few key items:- Lithium Marine Batteries: Start with two high-quality lithium marine batteries for a reliable dual setup. These batteries are perfect for marine environments and provide long-lasting power.
- Connection Cables: Get several cables to link the marine batteries with your boat's start bank terminals. It's important these cables are durable and suitable for marine conditions.
- Cable Cutters and Wrench: A good pair of cable cutters is essential to trim cables to the right length. Also, an adjustable wrench is needed to ensure all connections are tight and secure.
- Protective Grease: Applying grease to the connections and other electrical parts of your boat is a must. This protects against corrosion, extending the life of your marine battery setup.
- Swagging Tool: This tool is handy for ensuring a tight fit of tubing around brazed connections, keeping everything securely in place.
Series Wiring for High Power Marine Applications
When it comes to powering large boats or using large inverters, the series wiring method is often the best choice. This section will guide you through the basics of setting up a series wiring system for your marine batteries.Understanding Series Wiring: In a series wiring setup, you can use 2 to 4 batteries. It's important that these batteries are alike in age, size, type, and brand. When you connect batteries in series, their voltages add up. For example:- A 24 Volt system combines two 12-volt deep cycle batteries.
- For 36 Volts, you use three 12-volt batteries.
- And a 48 Volt system requires four 12-volt batteries.
Parallel Wiring: Boosting Battery Capacity in Marine Applications
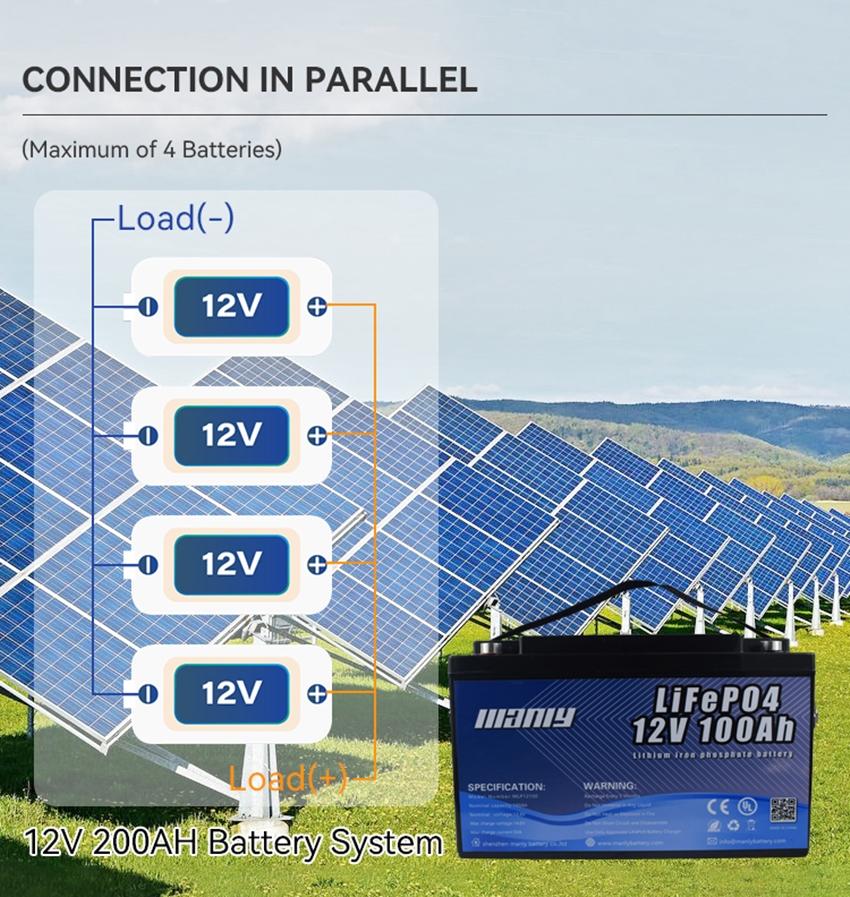
Parallel wiring is a great way to increase the capacity of your marine batteries while keeping the voltage steady. This section explains how parallel wiring works and how to set it up for your marine batteries.How Parallel Wiring Works: In a parallel setup, the total amperage of your marine batteries increases, leading to longer battery life. It's essential to use batteries that are similar in age, size, type, and brand. This uniformity ensures the system works efficiently.Setting Up Parallel Wiring: To wire your marine batteries in parallel, follow these steps:- Connect a wire from the positive terminal of one battery to the positive terminal of another.
- Do the same with the negative terminals: link the negative terminal of one battery to the negative terminal of the other.
- Finally, on one of the batteries, attach one lead to the positive terminal and another to the negative terminal.
How to Connect Your Marine Batteries Safely
Connecting wires to a marine battery is an important task. You can connect wires to a battery in a few ways. One way is using a solid metal post where you tighten a clamp connection. Another way is by using a threaded post (sizes 1/4 inch, 5/16 inch, or 3/8 inch) where you secure ring terminals with a nut. You might also use bolts to tighten over ring terminals.When installing marine batteries on a boat, it's key to tighten nuts onto these threaded posts using a tool. There are two steps to picking the right connector:- Find the Right Fit: First, look at the size of the battery post. Choose a connector (either a clamp or a ring terminal) that matches this size.
- Wire Size Matters: Next, consider the size of the wire you'll connect to the battery. Make sure the ring terminal you select fits both the battery post size and the wire size.

